Furn is fun with an r added...or furniture for short...or just my really awesome play on words because I'll be talking both about FUN with stain and FURNITURE with stain. Wow. I can tell I blow your mind.
One of the things keeping us busy this last month has been a couple of finishing/refinishing projects. In our master bedroom, we have a wall that I knew, one day, would hold a big honkin' mirror. I really liked this one from Ikea when they had it in brown/black. I loved the chunky (faux) wood frame and how big it was. But ... it was $100 and Mark thought we could DIY our own from REAL wood (a big thing for him) for a fraction of the cost. So, instead we put our DIY hats on and bought this plain boring mirror and two hemlock 1x6 boards from the local big blue or orange for under $20. Mark worked his magic and created the frame by using a:
miter saw
table saw
nail gun (finishing nails)
wood glue
sand paper
Once he was done with the frame, it was time to prep the wood for the stain. We used wood conditioner to make sure the stain would go on evenly. I definitely recommend using wood conditioner, especially if you are working with a softer wood that is more absorbent.
Then, it was time for furn with stain (I know, I'm a riot).
Bad picture quality, sorry. But you get the idea. I applied 3 coats of stain and two coats of satin polyurethane. I wanted it to be REALLY dark. In my master bedroom, I have some white painted furniture, but I wanted all my wood-toned furniture to be a really dark walnut-mocha-y color. And I really liked how this turned out.
And for another bad-quality, finished product picture!
Ta-daa!
There it is in all it's glory! (No, I hadn't cleaned the glass yet. Yes, those are smudges.)
The mirror was a fun project for me to get my feet wet with because I planned to next refinish a dresser I bought from Craigslist which would also go in our master bedroom. This was obviously a much bigger project. I had to strip the paint, sand, sand, sand, pry off the laminate top and pray it didn't ruin the wood underneath, and sand some more before it was ready to be stained.
I managed to do most of the work myself, but came home one day to find that Mark had finished off the last of the sanding, applied the wood conditioner, and started the process of staining it for me!
He said he did it because he was bored. I think it was because he loves me and was so proud of all the hard work I put into it and he felt bad that he didn't help me with it before. Whatever the real reason, he took over the project and three coats of stain and two coats of satin polyurethane later, I had a pretty 90% done dresser (and some more poor quality pictures)!
But, as you can see, the dresser has no handles...which is why I say that it's only 90% done - we haven't refinished the handles yet. (The dresser's handles are very simple and wood that's painted black.) They won't take long to refinish, but it's something we haven't gotten to yet. Regardless, isn't it pretty? I think so.
The third furniture project we are going to undertake is building a master bed. Thankfully, I found an AMAZING blog - Knock-Off Wood - run by Ana who creates furniture plans based on amazing pieces of furniture in your favorite catalogs. We plan to tackle this bed with just a few minor tweaks to the plans. I hope to have it built before summer is over. I'll share every step of that journey with you and let you know how much we spend on it versus what you could buy it for (plus shipping). More furn is coming your way! (And I promise that's the last time I use that word.)
Showing posts with label dresser. Show all posts
8.18.2010
4.15.2010
Big plans for the weekend
I have a lot planned to accomplish this weekend...but in just a short amount of time. I have a busy weekend ahead of me (Mark isn't as busy, lucky) but I still have high hopes that we can get something accomplished. From working a lot to the two of us being sick, not a lot has happened on the old remodeling front. Here's my to-do list:
1 - Begin laying marble tile on the tub surround. We start with the "deck" which is the top. Once that's done, Mark can get the tub all situated correctly and cut the holes for the plumbing. Once plumbing is in, he'll install the tub and work on the face of the tub surround.
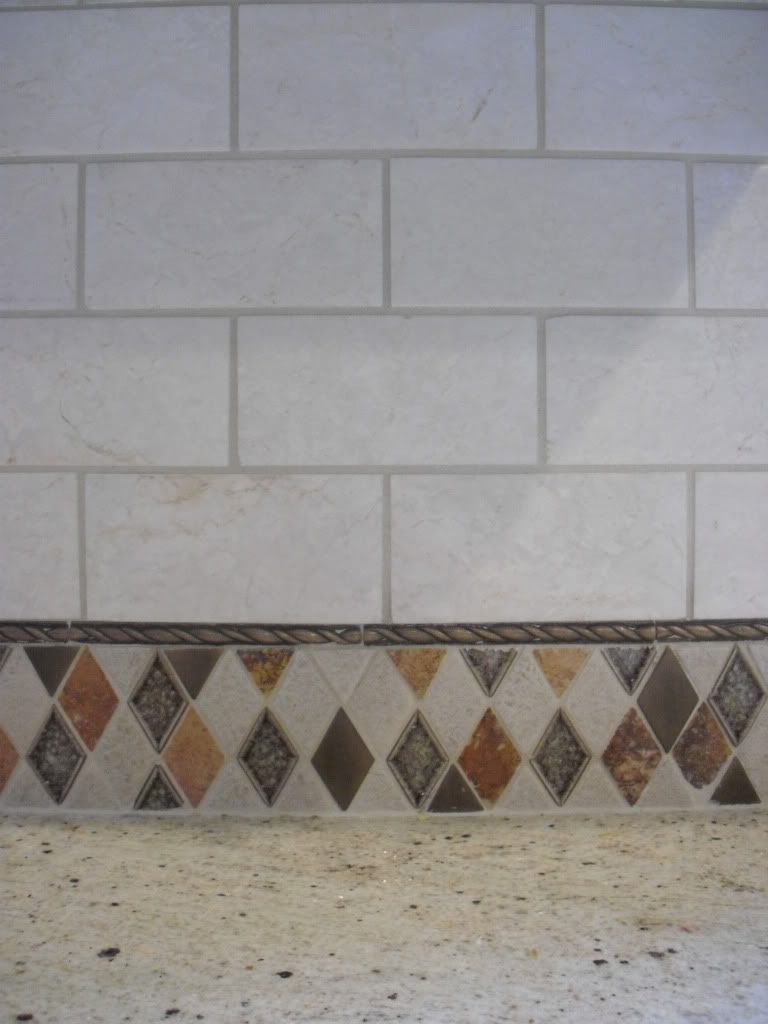
The stone we picked is Botticino Marble and we got it in 2x4 subway tiles, which looks very similar to this picture...a very ivory color stone with a slight grey and/or beige undertone. I wanted something that looked similar in color to our carpet, and this stuff is great!!
Click here to see the picture
2 - "Frost" our bathroom windows. I didn't really want curtains of other window coverings in our bathroom because we would pretty much always want them closed since the windows are big, there will be so much steam from the soaker tub which could mold or just make things icky, etc...so we decided to buy a frosted window film. Never used this before. No idea how it will look, but John and Sherry from Young House Love used similar stuff in their basement remodel. I figured we could give it a try. Plus, I love how light still shines though the film. I really want a hanging plant or two near the windows, so that will work out great!
3 - Sand more of my dresser. No idea if I will get to this or not, but I am really anxious to finish refinishing my dresser. So far, I have stripped all the paint, done rough sand, and now am going back over with a fine sanding pad using my really awesome birthday present from my hubby...
1 - Begin laying marble tile on the tub surround. We start with the "deck" which is the top. Once that's done, Mark can get the tub all situated correctly and cut the holes for the plumbing. Once plumbing is in, he'll install the tub and work on the face of the tub surround.
The stone we picked is Botticino Marble and we got it in 2x4 subway tiles, which looks very similar to this picture...a very ivory color stone with a slight grey and/or beige undertone. I wanted something that looked similar in color to our carpet, and this stuff is great!!
Click here to see the picture
2 - "Frost" our bathroom windows. I didn't really want curtains of other window coverings in our bathroom because we would pretty much always want them closed since the windows are big, there will be so much steam from the soaker tub which could mold or just make things icky, etc...so we decided to buy a frosted window film. Never used this before. No idea how it will look, but John and Sherry from Young House Love used similar stuff in their basement remodel. I figured we could give it a try. Plus, I love how light still shines though the film. I really want a hanging plant or two near the windows, so that will work out great!
3 - Sand more of my dresser. No idea if I will get to this or not, but I am really anxious to finish refinishing my dresser. So far, I have stripped all the paint, done rough sand, and now am going back over with a fine sanding pad using my really awesome birthday present from my hubby...
{Image courtesy of Power Tools UK}
For those of you wondering, I actually ASKED for this for my birthday. Keep your comments to yourself. (Kidding!) Once I'm done sanding, I am going to slap on some wood conditioner, stain it, and then probably do a coat or two of semi-gloss polyurethane to protect it. I really, really, really want it to be done so I can use it.
It's not a long list, but like I said, I have no idea how much of it we will even accomplish. Wish us luck!
Subscribe to:
Posts (Atom)